「简记」2022年macos下tensorflow2.0 gpu环境配置
前言
tensorflow 2.0已经支持arm架构的M1芯片,且支持GPU加速
macos下配置非常便捷
这里仅简单记录一下
参考官方文档
安装miniforge
方式1
通过brew
1 | brew install miniforge |
方式2
官方推荐
从conda-forge仓库下载安装脚本
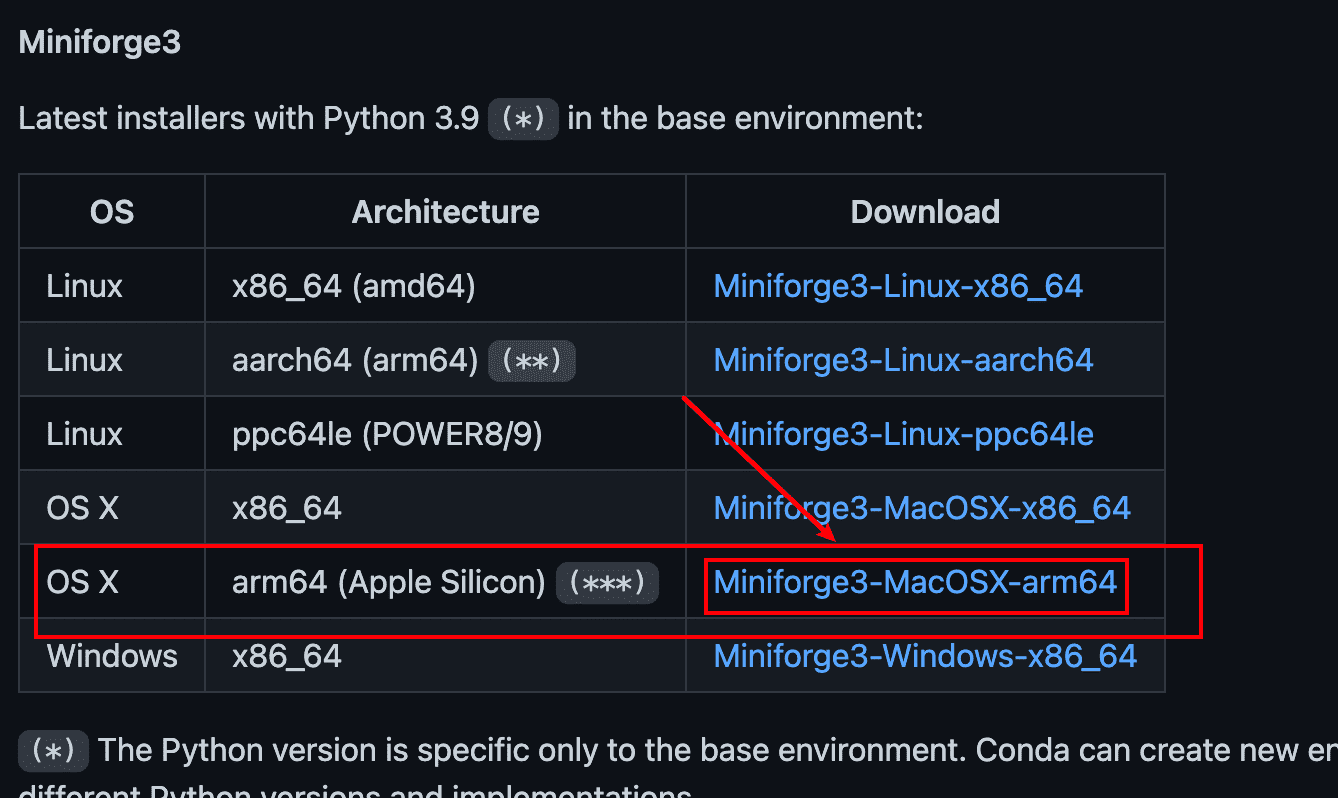
打开终端,赋予执行权限
1 | chmod +x ~/Downloads/Miniforge3-MacOSX-arm64.sh |
执行脚本
1 | cd ~/Downloads |
激活
1 | source ~/miniforge3/bin/activate |
创建一个新的python环境
1 | conda create -n tf_mac python=3.9.5 |
激活环境
1 | conda activate tf_mac |
修改zshrc配置,每次启动终端默认激活该环境
1 | >>> conda initialize >>> |
配置TF 2.0
安装tf依赖
1 | 一定要确保切换到对应环境 |
安装tf
1 | python -m pip install tensorflow-macos |
安装Metal Plugin
开启GPU加速
参见PluggableDevice: Device Plugins for TensorFlow
1 | python -m pip install tensorflow-metal |
安装jupyter lab
非必需,看个人需求
1 | conda install -y jupyterlab |
升级
如果需要进行版本升级
先卸载已有的tensorflow-macos和tensorflow-metal
1 | python -m pip uninstall tensorflow-macos |
升级tf依赖
1 | conda install -c apple tensorflow-deps -n tf_mac --force-reinstall |
安装tf
1 | python -m pip install tensorflow-macos |
验证安装
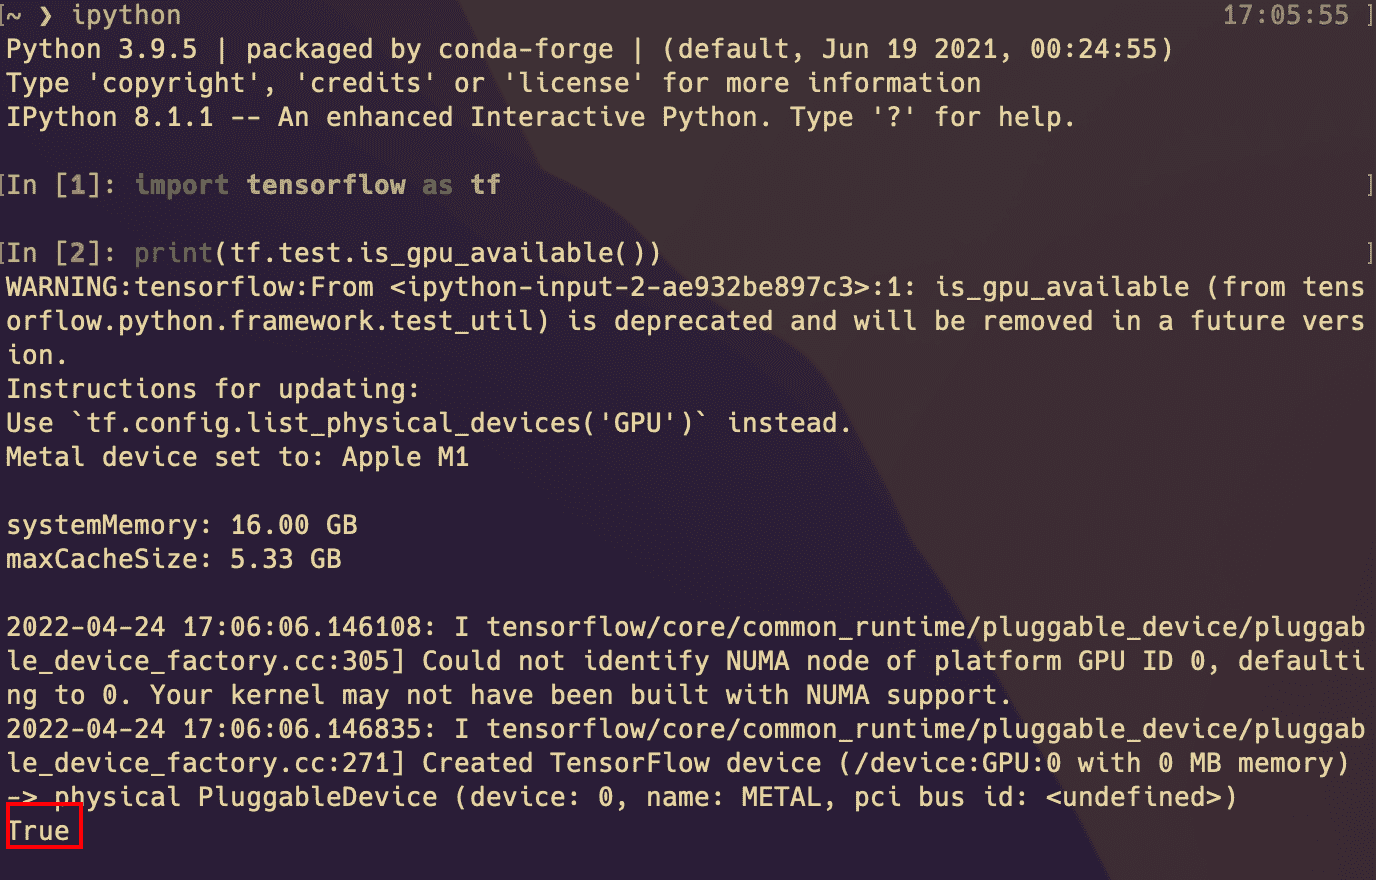
完毕